
Creating your own cold therapy solution at home can be both cost-effective and readily available when unexpected injuries occur. Whether dealing with sports injuries, headaches, or general inflammation, knowing how to make a DIY cold compress provides immediate relief without requiring a trip to the pharmacy. Understanding proper cold therapy techniques ensures safe and effective treatment while maintaining the therapeutic benefits needed for recovery.
Understanding Cold Therapy Fundamentals
Scientific Principles Behind Cold Treatment
Cold therapy works by reducing blood flow to affected areas, which helps minimize inflammation and swelling. When temperatures drop below normal skin temperature, blood vessels constrict through a process called vasoconstriction. This biological response slows cellular metabolism and reduces the production of inflammatory substances that cause pain and tissue damage. Professional medical practitioners have used cryotherapy principles for decades to treat various conditions ranging from acute injuries to chronic pain management.
The therapeutic temperature range for effective cold treatment typically falls between 50 to 60 degrees Fahrenheit. Maintaining this temperature range ensures adequate therapeutic benefits while preventing tissue damage from extreme cold exposure. Understanding these scientific foundations helps individuals create more effective homemade cold therapy solutions that deliver consistent results.
Optimal Treatment Duration and Frequency
Proper timing plays a crucial role in maximizing cold therapy effectiveness while preventing potential complications. Most healthcare professionals recommend applying cold treatments for 15 to 20 minutes at a time, followed by at least 40 minutes of rest between applications. This cycling approach prevents tissue damage while maintaining therapeutic benefits throughout the treatment period.
During the initial 48 hours following an injury, cold therapy can be applied every 2 to 3 hours during waking hours. Extended application beyond recommended timeframes can lead to frostbite, nerve damage, or paradoxical vasodilation where blood vessels actually expand, reducing treatment effectiveness. Monitoring skin color and sensation during treatment helps ensure safe application.
Essential Materials for Homemade Cold Compresses
Household Items for Basic Cold Therapy
Most effective DIY cold compress solutions can be created using common household materials found in typical kitchens and bathrooms. Frozen vegetables, particularly peas or corn, make excellent emergency cold compresses due to their small size and ability to conform to body contours. These items maintain cold temperatures for extended periods while remaining flexible enough for comfortable application.
Ice cubes wrapped in thin towels or cloth materials provide another readily available option for immediate cold therapy. However, direct ice application should always be avoided to prevent ice burns or excessive skin cooling. Adding a barrier layer between ice and skin ensures safe treatment while maintaining therapeutic cold transfer.
Advanced Materials for Enhanced Performance
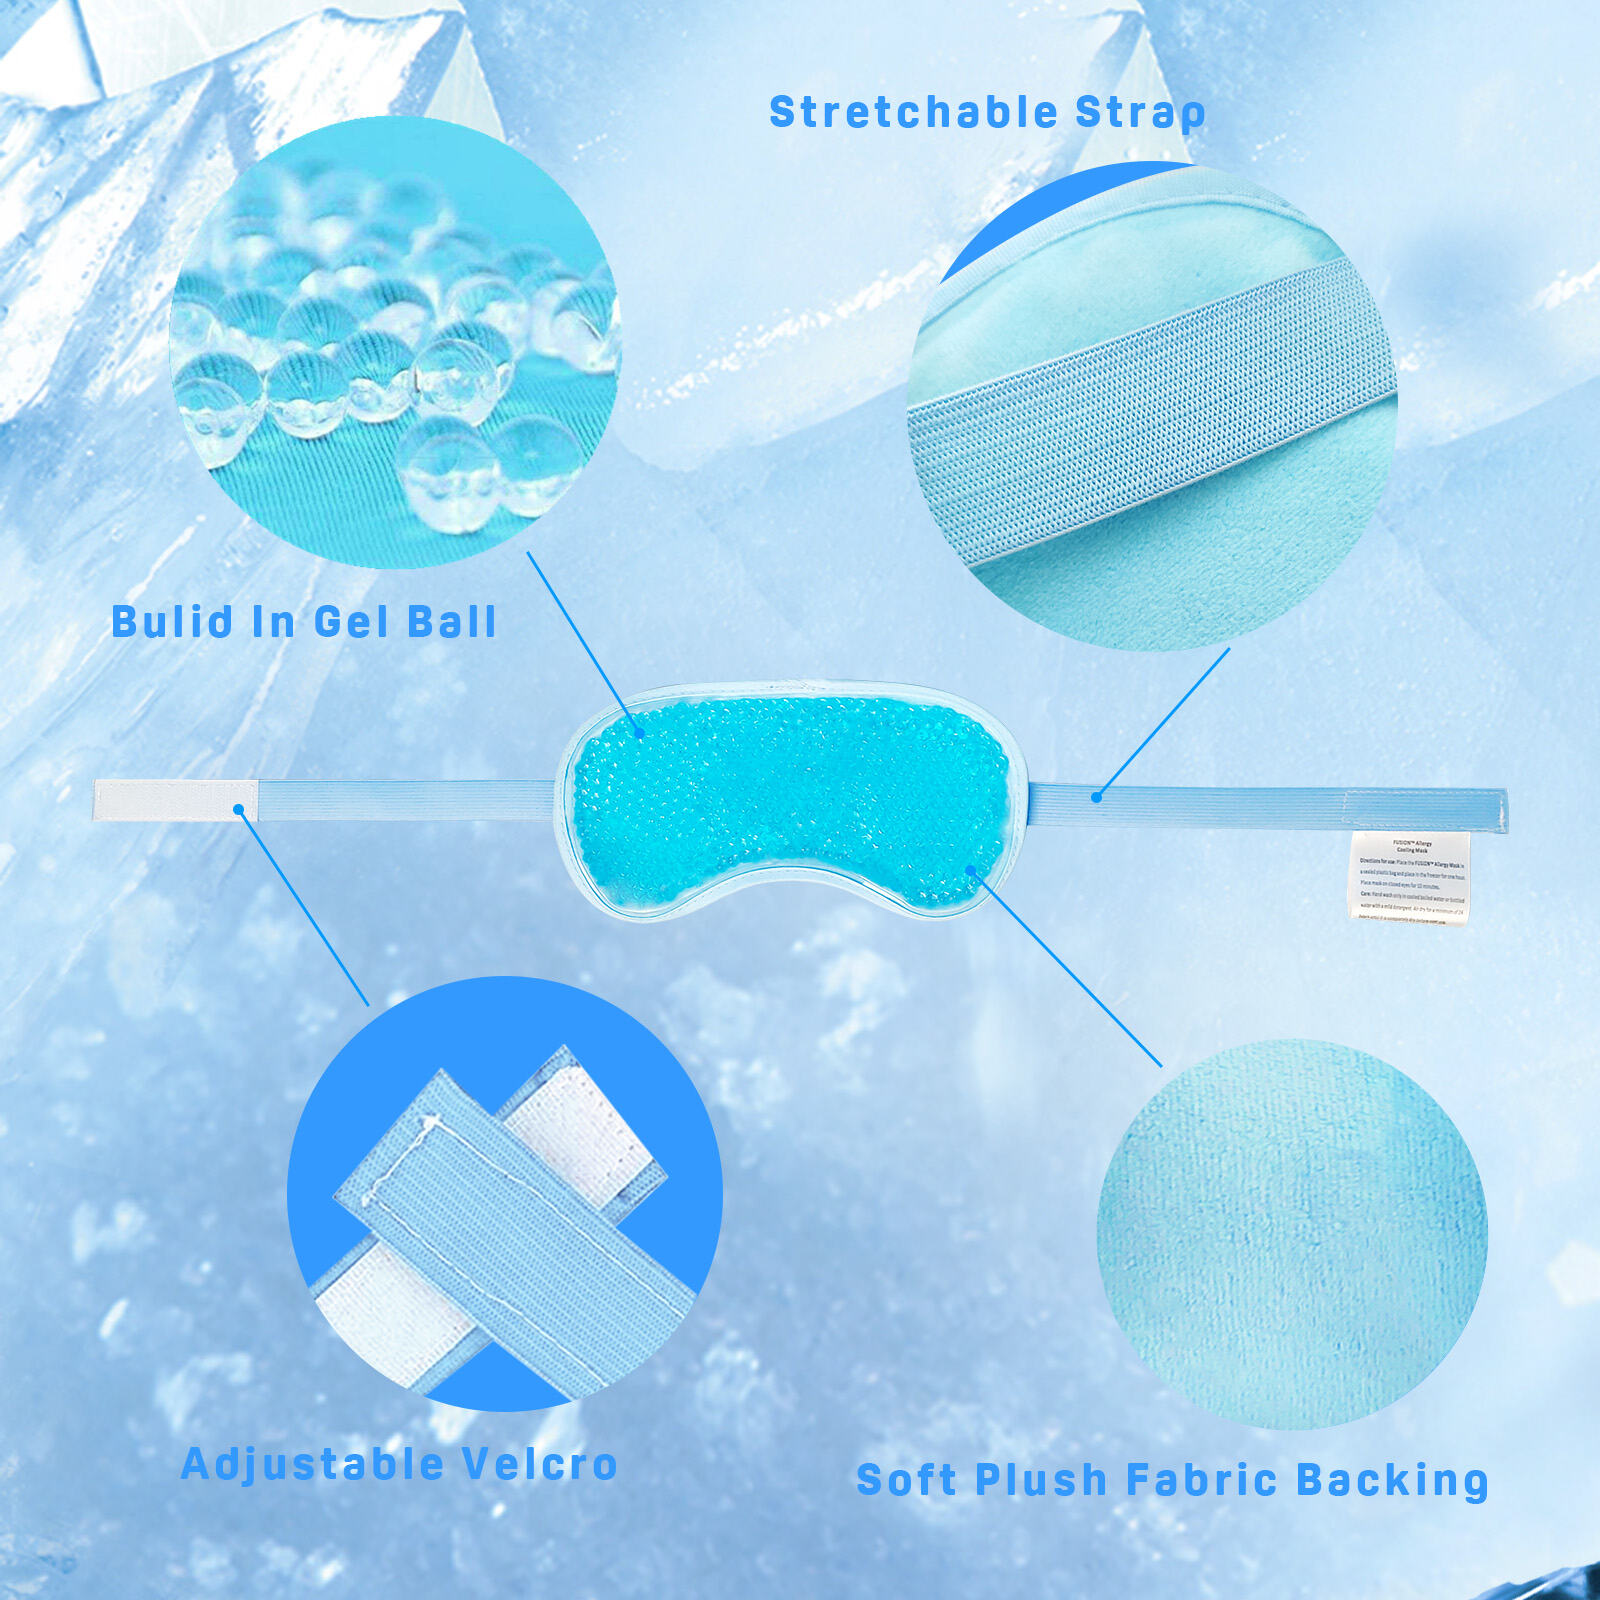
Creating more sophisticated DIY cold compress solutions involves using materials that provide longer-lasting cold retention and improved flexibility. Isopropyl alcohol mixed with water creates a gel-like substance that remains pliable even at freezing temperatures. This mixture typically uses a 1:3 ratio of rubbing alcohol to water, sealed within double-layered plastic bags.
Dawn dish soap frozen in sealed bags offers another excellent option for flexible cold therapy applications. The soap maintains a semi-solid consistency at freezing temperatures, making it ideal for wrapping around curved body parts like ankles, wrists, or shoulders. These advanced materials often provide 30 to 45 minutes of effective cold therapy compared to traditional ice applications.
Step-by-Step Construction Methods
Basic Ice Pack Creation Process
The simplest DIY cold compress method involves filling a sturdy plastic bag with ice cubes and adding a small amount of cold water. Double-bagging prevents leakage while ensuring adequate insulation between the ice and skin surface. Removing excess air from the bags creates better contact with the treatment area while reducing bulk.
Wrapping the ice-filled bags in a thin towel or cloth provides the necessary barrier layer for safe skin contact. Cotton materials work exceptionally well due to their moisture absorption properties and thermal regulation characteristics. Testing the temperature against the inner wrist before application helps ensure comfortable treatment temperatures.
Gel-Based Compress Assembly
Creating gel-based cold compresses requires mixing specific ratios of alcohol and water in leak-proof containers. Start by combining one part 70% isopropyl alcohol with three parts water in a measuring cup before transferring to freezer-safe plastic bags. Heavy-duty freezer bags or vacuum-sealed pouches work best for preventing leakage during freezing and application.
After sealing the mixture securely, place the bags flat in the freezer for at least 2 hours before initial use. The gel consistency allows for easy molding around joints and curved surfaces while maintaining cold temperatures for extended periods. These homemade gel packs can be refrozen multiple times for ongoing use.
Safety Considerations and Best Practices
Preventing Cold-Related Injuries
Proper DIY cold compress application requires understanding potential risks and implementing appropriate safety measures. Never apply ice or extremely cold materials directly to bare skin, as this can cause frostbite, nerve damage, or severe tissue injury. Always maintain a protective barrier layer between cold sources and skin surfaces throughout treatment sessions.
Individuals with certain medical conditions, including diabetes, peripheral vascular disease, or reduced sensation, should exercise additional caution when using cold therapy. These conditions can affect the body's ability to detect temperature extremes or respond appropriately to cold exposure. Consulting healthcare providers before beginning cold therapy regimens ensures safe application for individuals with underlying health concerns.
Recognizing Warning Signs
Monitoring for adverse reactions during cold therapy application helps prevent serious complications. Skin that becomes excessively red, white, or blue indicates potentially dangerous temperature exposure requiring immediate treatment cessation. Numbness, tingling, or burning sensations beyond normal cold sensitivity also warrant stopping treatment and allowing normal skin temperature recovery.
Treatment areas should return to normal skin color and sensation within 10 to 15 minutes after removing cold applications. Prolonged discoloration, continued numbness, or persistent pain may indicate tissue damage requiring medical attention. Documenting treatment responses helps identify patterns and optimize future cold therapy sessions.
Storage and Maintenance Guidelines
Proper Storage Techniques
Maintaining homemade cold compresses requires proper storage methods to ensure longevity and hygiene. Gel-based DIY cold compress solutions should be stored in designated freezer areas away from food items to prevent contamination. Labeling packages with creation dates helps track freshness and replacement schedules for optimal performance.
Cloth covers or towel barriers should be washed regularly using standard laundry procedures to maintain cleanliness. Rotating between multiple cover layers allows continuous treatment availability while ensuring proper hygiene standards. Air-drying cloth materials prevents shrinkage and maintains proper thickness for effective insulation.
Replacement and Upgrade Schedules
Most homemade cold therapy solutions maintain effectiveness for several weeks when stored properly, though regular inspection ensures continued performance. Gel-based mixtures may separate or change consistency over time, indicating the need for replacement. Creating fresh batches monthly provides consistent therapeutic benefits while maintaining safety standards.
Upgrading homemade solutions by experimenting with different material ratios or container types can improve performance and comfort. Testing new formulations on small areas before full application helps identify optimal combinations for individual needs and preferences.
FAQ
How long does a homemade DIY cold compress stay cold
Most homemade cold compresses maintain therapeutic temperatures for 20 to 30 minutes, depending on the materials used and ambient temperature conditions. Gel-based solutions typically last longer than simple ice packs, often providing 45 minutes of effective cold therapy. Thicker barrier layers may reduce cold transfer but extend overall treatment duration.
Can I reuse the same DIY cold compress materials multiple times
Yes, most DIY cold compress materials can be safely reused multiple times when properly maintained and stored. Gel-based mixtures in sealed bags can be refrozen dozens of times before requiring replacement. However, inspect materials regularly for leaks, contamination, or degradation that might affect safety or performance.
What temperature should my homemade cold compress reach for effective treatment
Effective cold therapy temperatures typically range between 50 to 60 degrees Fahrenheit when measured at the skin contact surface. This temperature range provides therapeutic benefits while preventing tissue damage from excessive cold exposure. Using a barrier layer naturally regulates temperature transfer to safe levels.
Are there any medical conditions that make DIY cold compress use unsafe
Individuals with diabetes, peripheral vascular disease, reduced sensation, or circulation problems should consult healthcare providers before using cold therapy. These conditions can affect the body's response to temperature changes and increase risks of cold-related injuries. Pregnant women and individuals taking certain medications may also require medical guidance before beginning cold therapy treatments.